Photoshop Tone Shapes Tutorial
Ever wondered how I got those effects for some of the brushes I make?
Well, here's the process I've used in as shown in Photoshop CS5.
The files shown in these screenshots were created at 300DPI. Click to see a larger version of the images.
For Dithered Patterns:
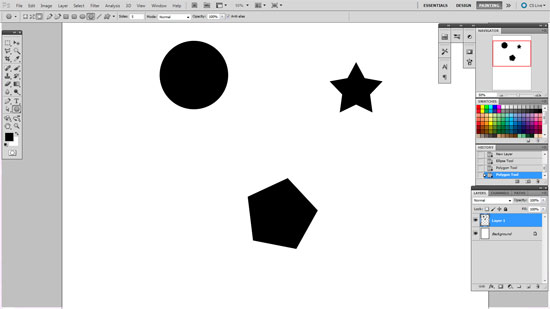
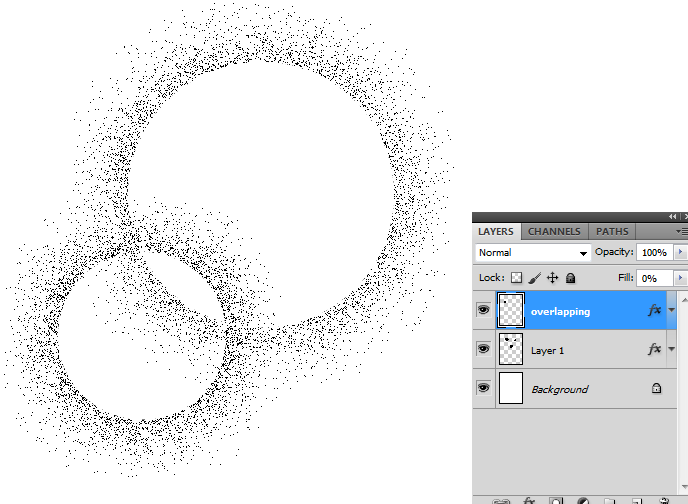
- Place some shapes on a transparent layer, as shown here:
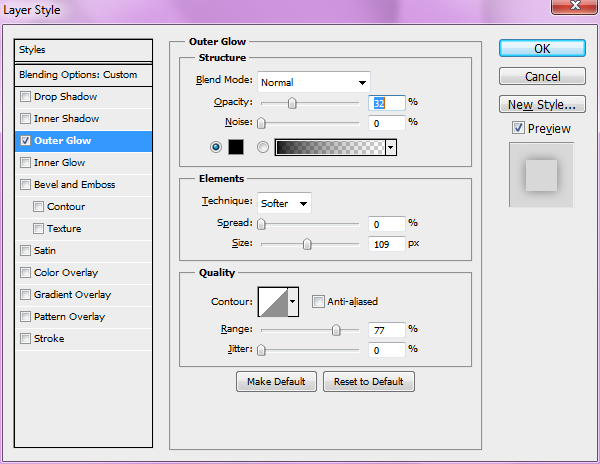
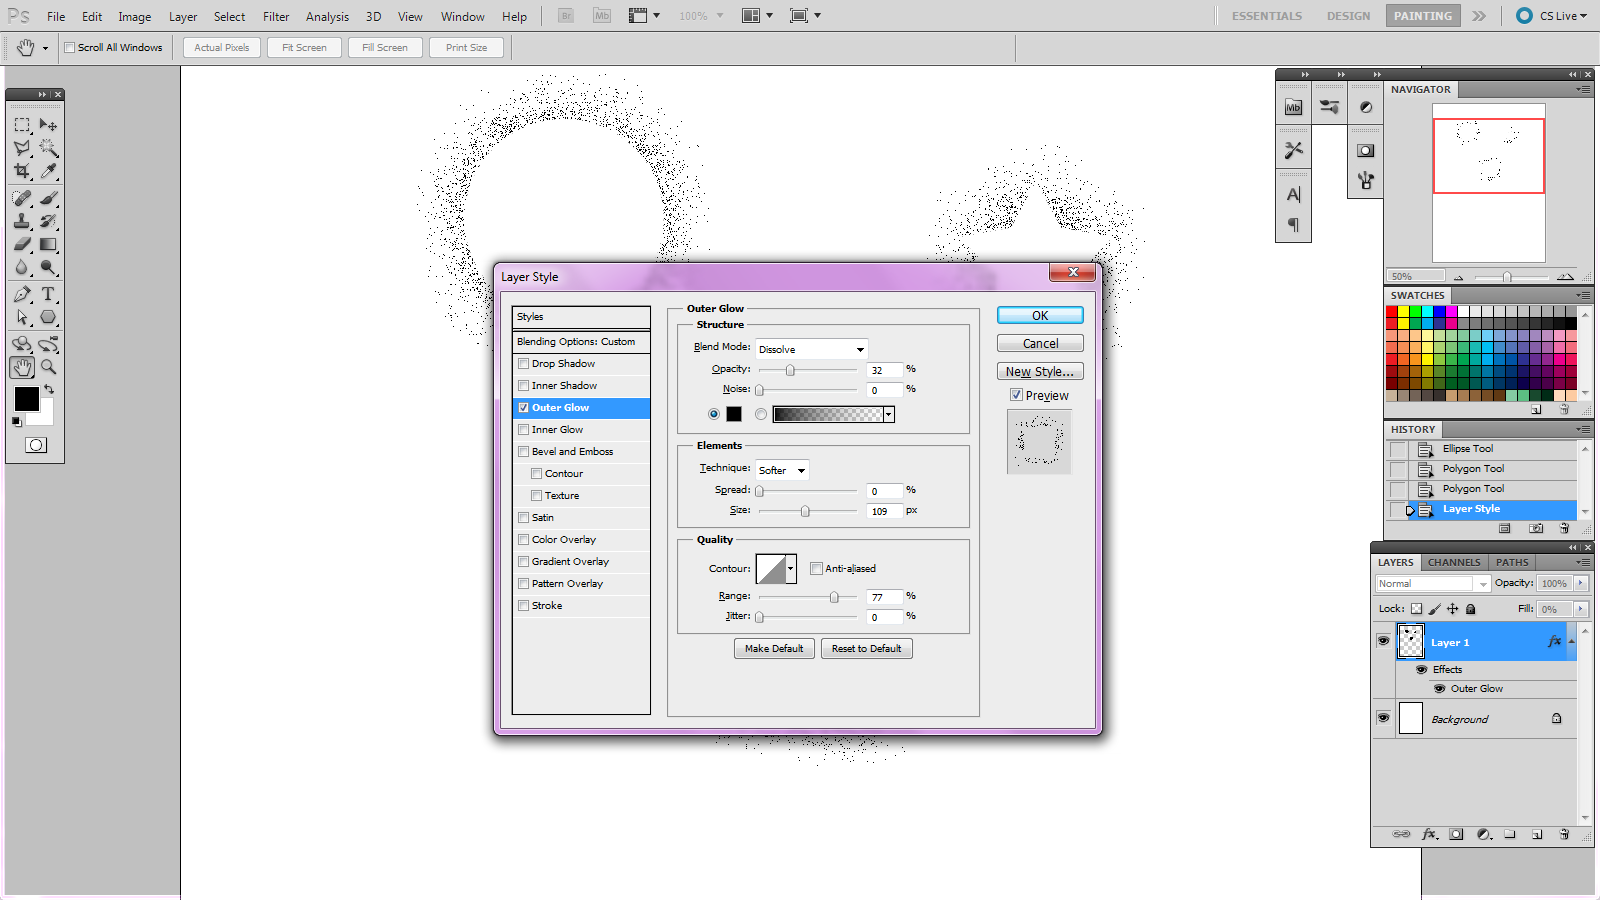
- Next, we apply the desired layer effect.
In this case, we want to start off with an Outer Glow, with the Blend Mode set to "Dissolve".

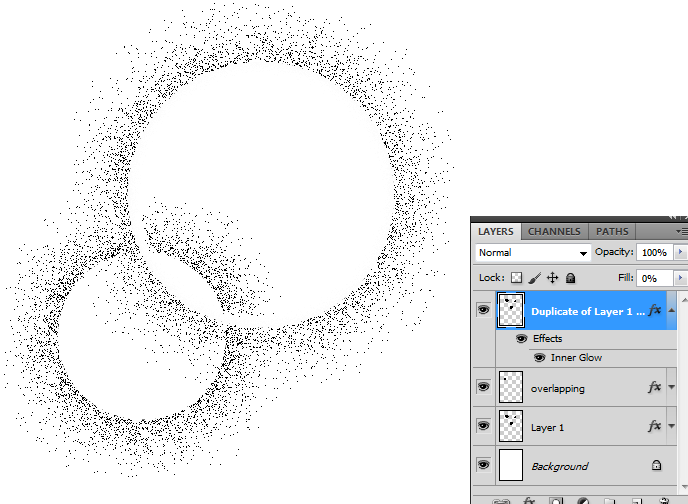
- If you're going to have overlapping shapes on separate layers, you may want to consider using a combination of layers and effects to change the appearance.
- Examples:
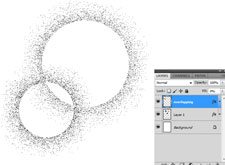
No additional layers or effects or added to either circle.
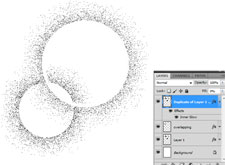
The first circle was duplicated, its fill opacity set to 0%, with an added Inner Glow effect (where the blend mode set to "Dissolve").
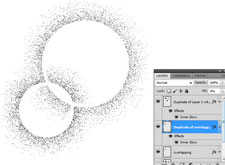
Both shapes have been duplicated, with 0% fill opacity, and Inner Glows on each.
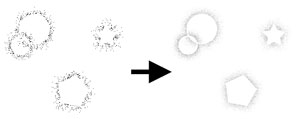
- Finally, we flatten the layers!
Once you flatten your chosen layers, you can define it as a brush, make it transparent, whatever.
Usually, I convert to bitmap and back to Greyscale before making brushes.
Not to mention, things usually look a lot nicer zoomed out when you merge your layers.


For Tone Patterns:
- We start out much the same as previously, but instead of using the "Dissolve" blend mode on the glow, we just set it to "Normal".

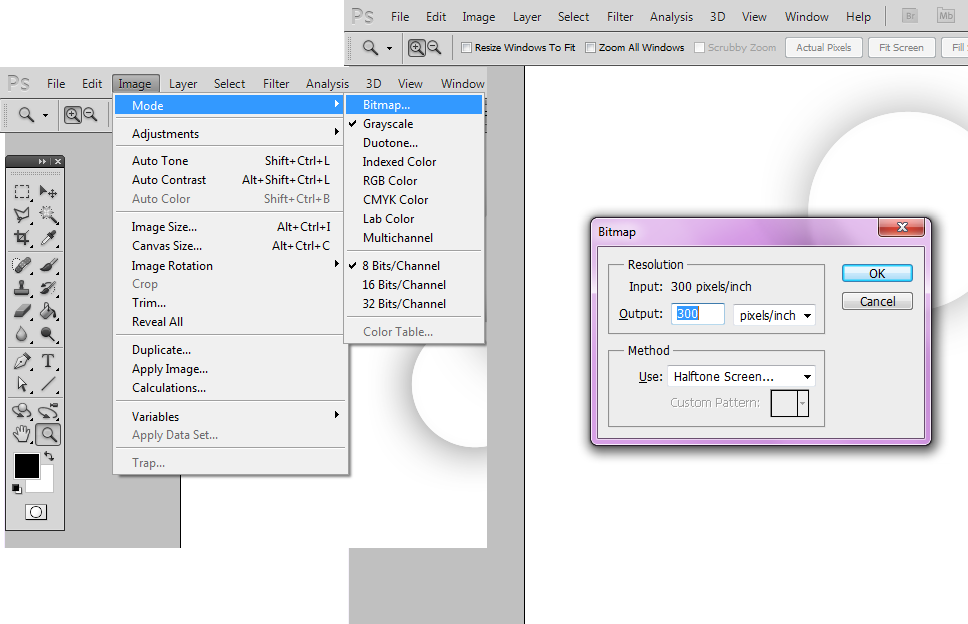
- After that, we change the image mode to Bitmap, under "Image" -> "Mode" -> "Bitmap". You may need to first change your image mode to Grayscale.
Since this is supposed to be a tone effect, "Halftone Screen" will suffice for the method. You'll see some other settings after this -- play around and see what you like!
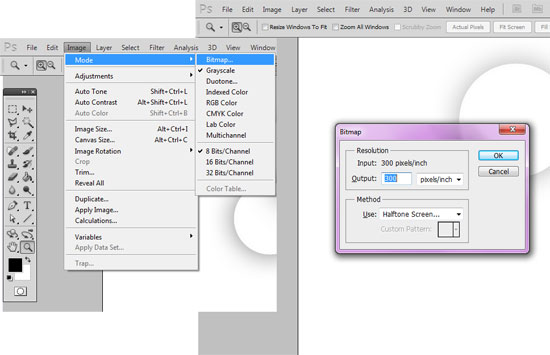
*Note: Adjust the resolution settings to match what you need it to be output as! I find Bitmap mode works BEST with high resolution images!
- That's it! You have your tone results!
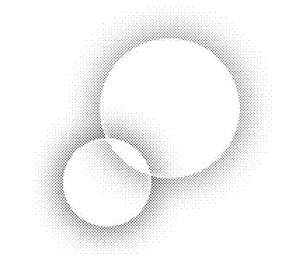
You might want to consider going back to greyscale mode if you need layers, transparency, and other features.